Quick Start
This guide walks you through installing Renku, running onboarding with renku launch, and picking your first blueprint.
Platform Support
Section titled “Platform Support”| Platform | Recommended setup | Notes |
|---|---|---|
| macOS (Apple Silicon) | CLI + browser viewer | Full onboarding and UI workflow |
| macOS (Intel) | CLI + browser viewer | Full onboarding and UI workflow |
| Linux | CLI + browser viewer | Full onboarding and UI workflow |
| Windows | CLI + browser viewer (WSL2) | Use a Linux distro in WSL2 |
Choose your path from the Install Page.
Install and Launch
Section titled “Install and Launch”- Install Renku CLI globally:
npm install -g @gorenku/cli- Launch Renku UI flow:
renku launchIf your CLI config does not exist yet (for example ~/.config/renku/cli-config.json is missing), Renku automatically opens the onboarding wizard instead of failing.
Update Renku CLI
Section titled “Update Renku CLI”When you publish a new Renku release, update your Linux machine with:
npm install -g @gorenku/cli@latestIf you want a specific version instead of latest, pin it explicitly:
Then verify the installed version:
renku --versionUninstall Renku CLI
Section titled “Uninstall Renku CLI”To remove the global CLI binary:
npm uninstall -g @gorenku/cliOptional full cleanup (removes your local Renku config and data folders):
rm -rf ~/.config/renkuRemove your chosen workspace root as well if you want to delete generated builds and blueprint copies.
Onboarding
Section titled “Onboarding”When you open Renku for the first time, a five-step wizard walks you through the essential configuration.
Step 1 — Welcome
Section titled “Step 1 — Welcome”The welcome screen introduces Renku and shows how many steps remain. Click Next to begin.
Step 2 — Storage Setup
Section titled “Step 2 — Storage Setup”Choose a folder where Renku will store your blueprints, generated artifacts, and build outputs. You can type a path directly or click Browse to pick one. This folder becomes your workspace root. Renku will also copy the catalog of built-in blueprints, and supported models definitions in this folder.
Step 3 — API Keys - Media Generation Providers
Section titled “Step 3 — API Keys - Media Generation Providers”Select at least one media-generation provider and enter its API key. Available providers:
| Provider | What it does | Key name |
|---|---|---|
| fal.ai | Audio, Image, Video generation | FAL_KEY |
| Replicate | Audio, Image, Video generation | REPLICATE_API_TOKEN |
| ElevenLabs | AI voice and audio generation | ELEVENLABS_API_KEY |
Each provider card has a Get API key link that takes you to the provider’s dashboard where you can create a key.
Step 4 — API Keys - LLM Providers
Section titled “Step 4 — API Keys - LLM Providers”Select at least one prompt/LLM provider and enter its API key:
| Provider | What it does | Key name |
|---|---|---|
| OpenAI | LLM models for story board and prompt generation | OPENAI_API_KEY |
| Vercel AI Gateway | Unified gateway to Claude, Gemini, and open-source models | AI_GATEWAY_API_KEY |
Click Finish to save your configuration. The app stores your API keys locally in ~/.config/renku/.env.
Step 5 — All Done
Section titled “Step 5 — All Done”A summary screen confirms your workspace path and lists every provider you configured. Click Open Renku Home to enter the app.
Pick a Blueprint
Section titled “Pick a Blueprint”After onboarding you land on the home screen, which shows the blueprint library — a collection of ready-made video generation workflows.
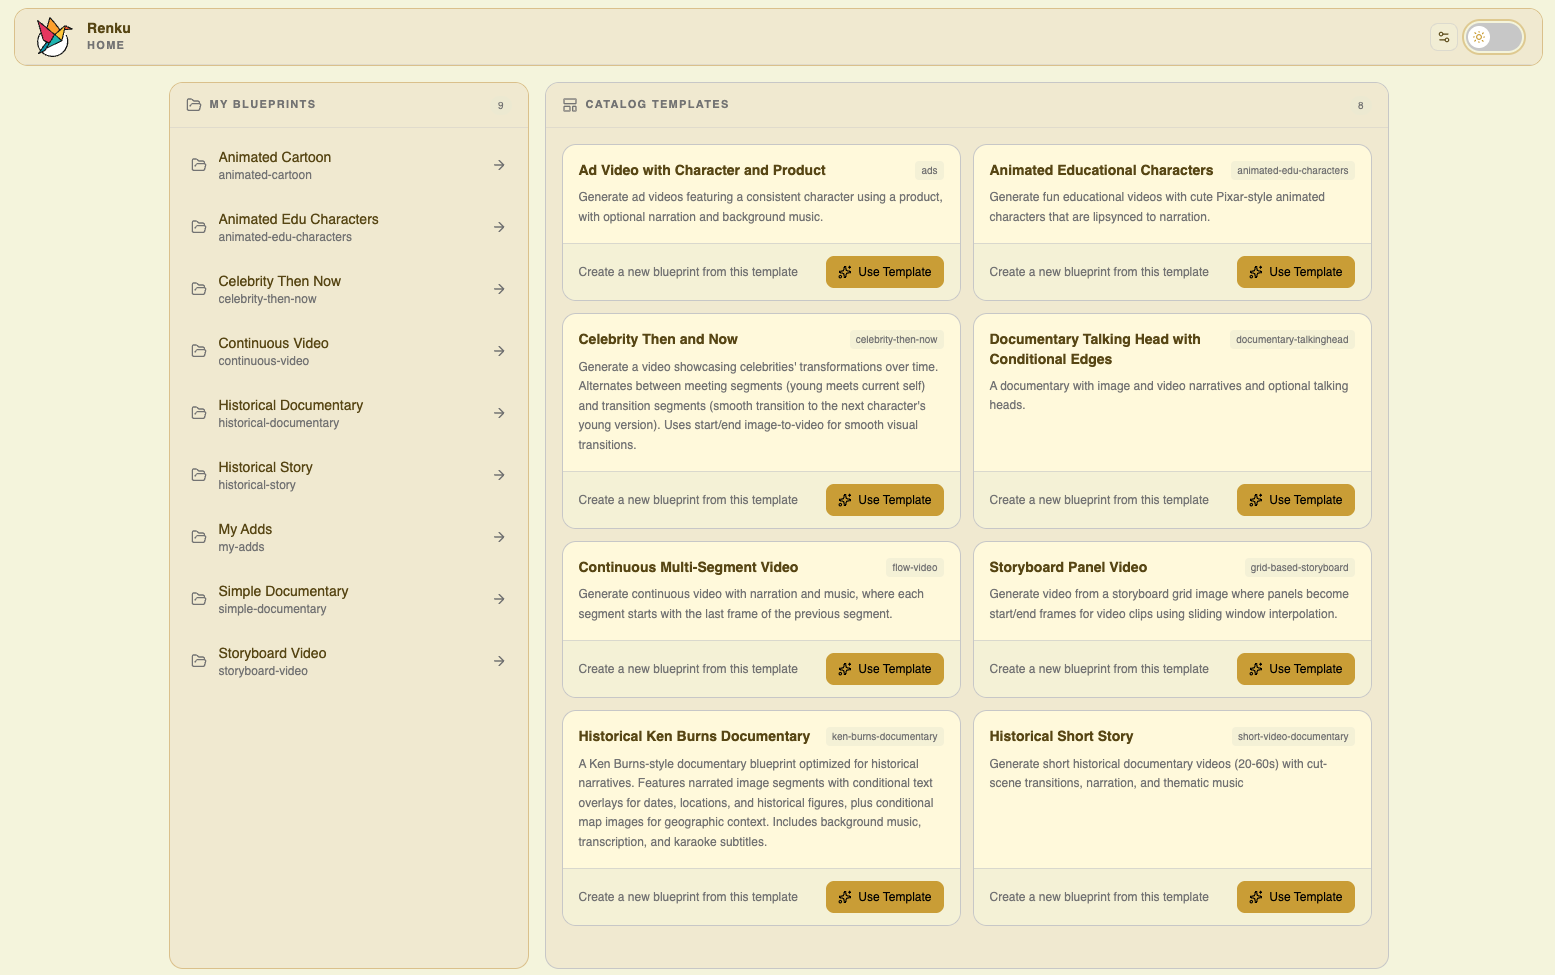
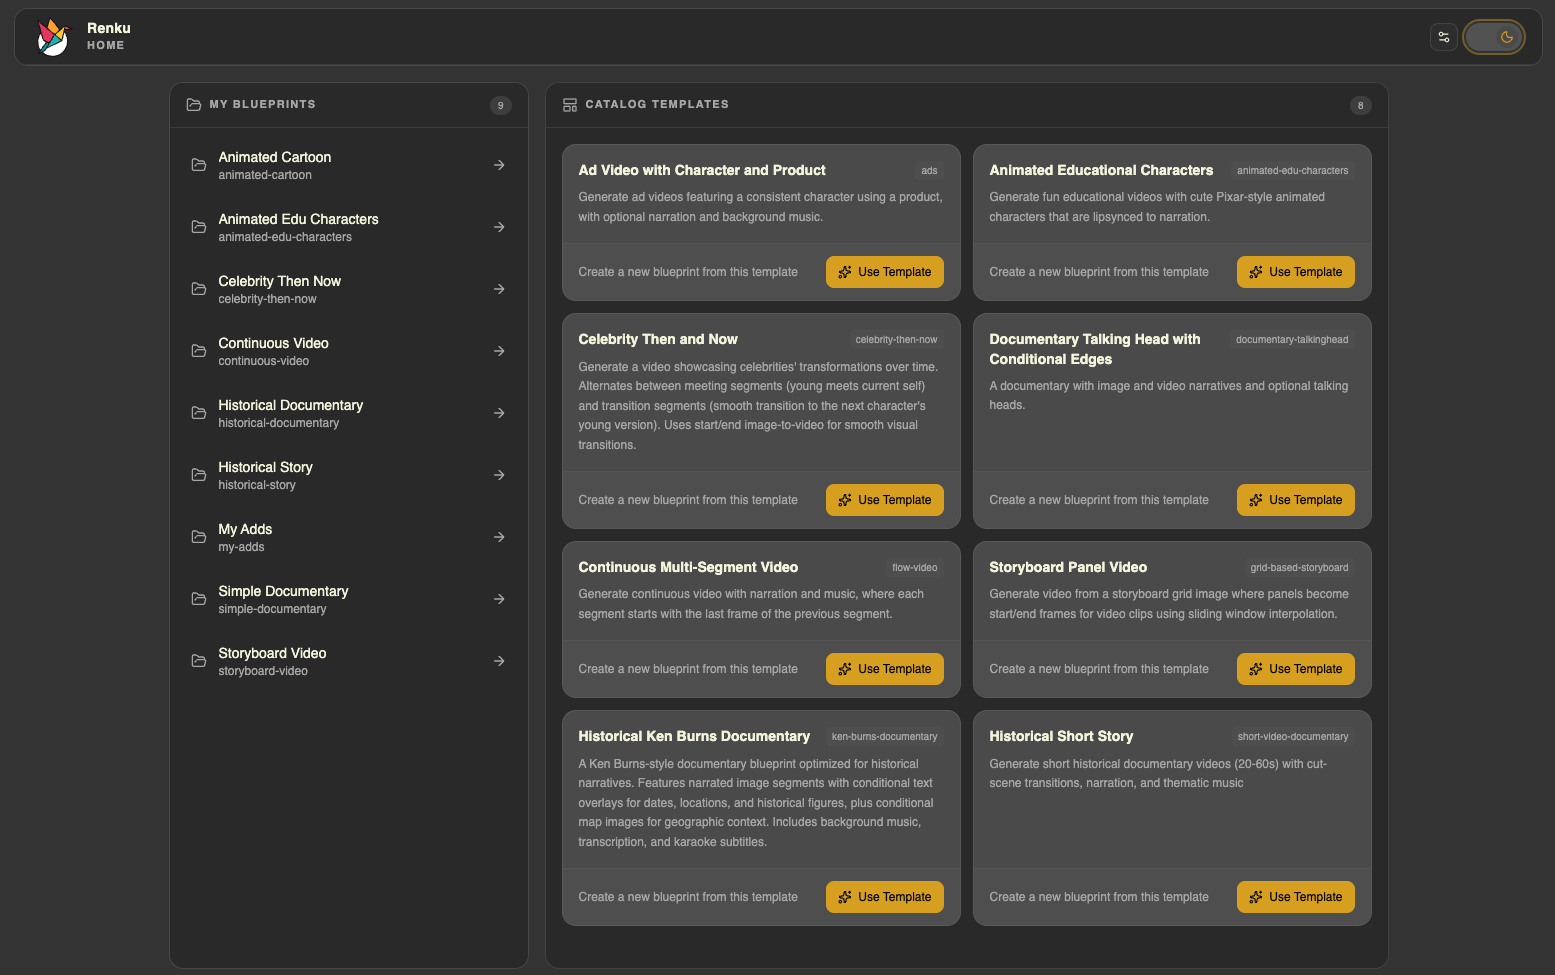
Browse the library and select a blueprint to get started. Each blueprint defines a complete video generation workflow — from storyboard generation through media creation to final composition.
Building Your Own Blueprints
Section titled “Building Your Own Blueprints”The built-in library is a great starting point, but you can also create your own blueprints from scratch.
Using AI Skills
Section titled “Using AI Skills”The fastest way to create custom blueprints is through AI coding assistants. Tools like Claude Code, OpenAI Codex, and OpenCode can generate Renku blueprints for you when you add the Renku skill to your assistant. The skill teaches the AI how to structure blueprints, which producers are available, and how to wire everything together.
See the Using Skills guide for setup instructions.
Writing Blueprint YAML Directly
Section titled “Writing Blueprint YAML Directly”If you prefer full control, you can author blueprint YAML files by hand. Blueprints are declarative — you define inputs, producers, connections, and loops in a structured format.
See the Blueprint Authoring guide for the complete reference.