

Quick Start · Four steps
Your story.
Your studio.
First things first.
Go from a fresh install to a screenplay in Studio, with Codex ready to help you make it a film.
01 · Connect
Bring your own creative engines.
Renku connects to media providers using your API keys. Add the providers you intend to use; you do not need an account with every provider to start exploring Studio.
- Open your provider’s website, sign in, and find its developer or API settings. Create an API key for your account. API access and generation credits are managed by that provider.
- During first-run setup, choose Use this Project Library on the welcome screen. The next screen is Provider API keys. Paste each key into its matching provider row, then choose Save and continue.
- If your Project Library was already configured, or you skipped provider setup, open the gear marked Open Settings, paste the key into its provider field, and choose Save.
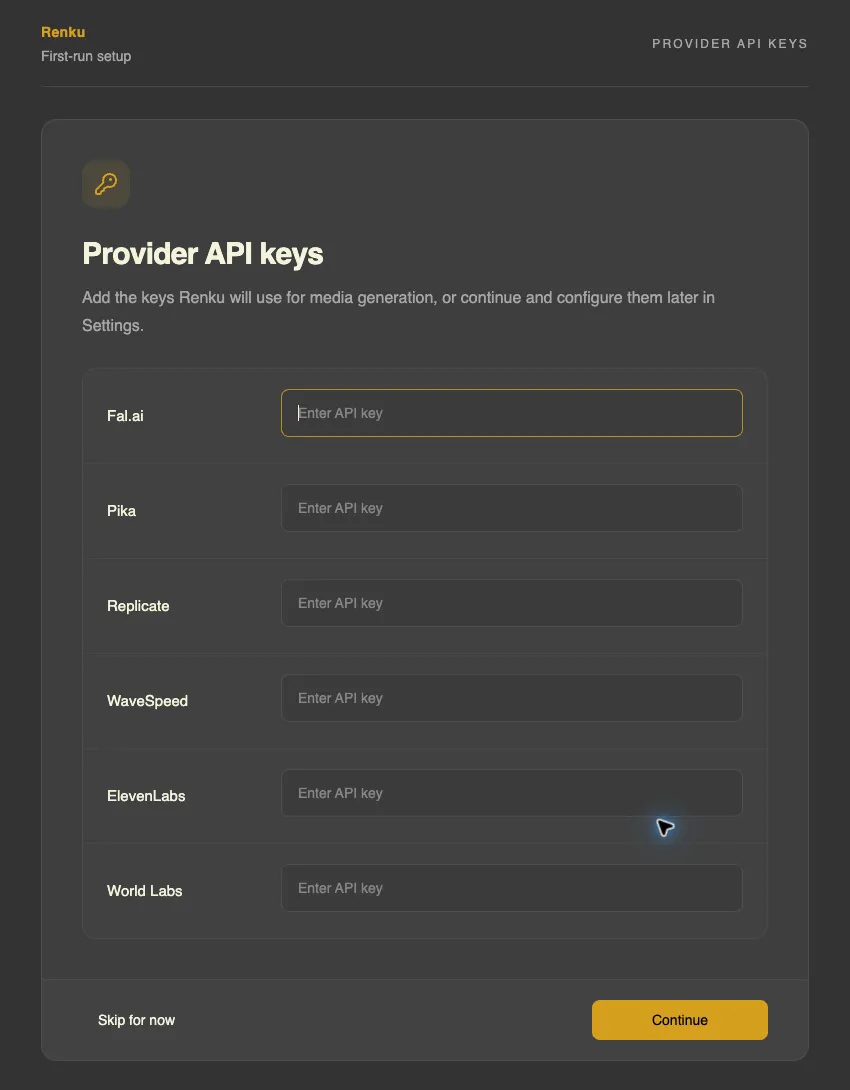






Keys apply across your projects on this device. Keep them in Renku’s Settings rather than pasting them into a Codex conversation. Your Codex sign-in and your media-provider credentials are separate.
Ready when
Your configured provider shows a masked key and a Replace control when you reopen Settings. Saving a key records it; a successful generation is what confirms provider access and available credit.
Not generating yet?
Choose Skip for now to create a project and work on its story. Return to Settings before your first provider generation. If a request later fails, check the matching provider’s key, permissions, API access, and balance.
02 · Create
A home for your film.
The Project Library is your starting point. Each project has its own folder for the screenplay, production work, and media.
- In the Project Library, choose Create Project.
- Enter a Project title, such as “The Glass Harbor.” Renku suggests a Folder name, such as
the-glass-harbor. - Check the displayed Location and choose Create project. Renku creates the folder and initializes the project.
In Codex, add a project and select the same folder Renku just created. Start a task in that Codex project, and keep the same film open in Studio. You can begin with what you want to do—there is no setup prompt to paste.
Ready when
Your film is open in Studio, and your Codex task is working in that film’s project folder.
03 · Import
Start with the screenplay.
Export your script from Final Draft as an .fdx file. Give Codex the full path to that file and ask it to import it into the project you just created.
Import the Final Draft screenplay at [full path to script.fdx] into this project. After import, summarize the scene count and report any import issues.
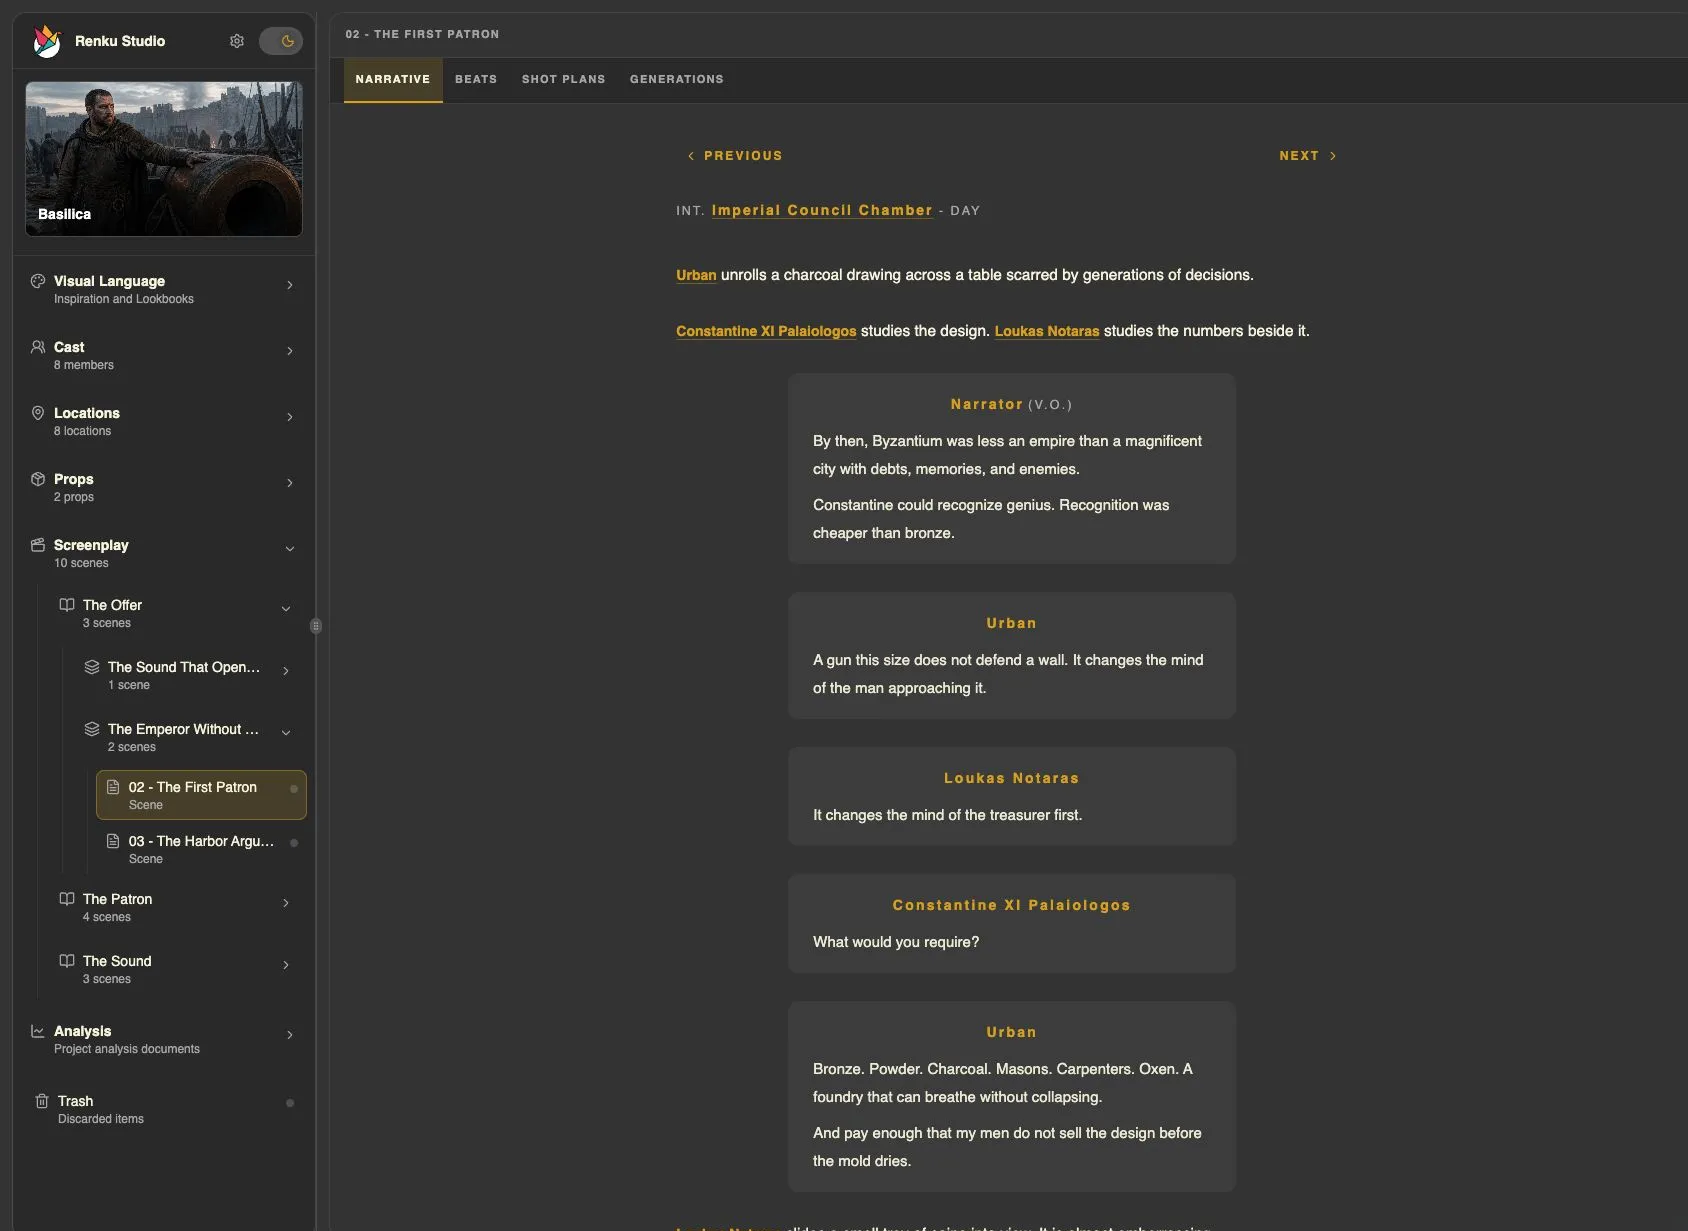
- Expand Screenplay in Studio’s sidebar, select a scene, and open its Narrative tab to read the imported action and dialogue.
- Check the scene headings, dialogue, and scene order against your source.
- If import reports unsupported content, give Codex the error and resolve the source issue before continuing.
Your FDX remains the source of truth. Make script revisions in Final Draft, export an updated FDX, and bring those changes into Renku. Review affected production work after a script update. Import does not automatically create Cast Members, Locations, or Props; you will develop those with Codex in the tutorial.
Starting without a script? Ask Codex to help develop a Renku-authored screenplay from your idea instead of importing an FDX.
Ready when
Your scenes are available in Studio, and you can read their screenplay content in the Narrative tab.
04 · Direct
Your direction. Your creative tools.
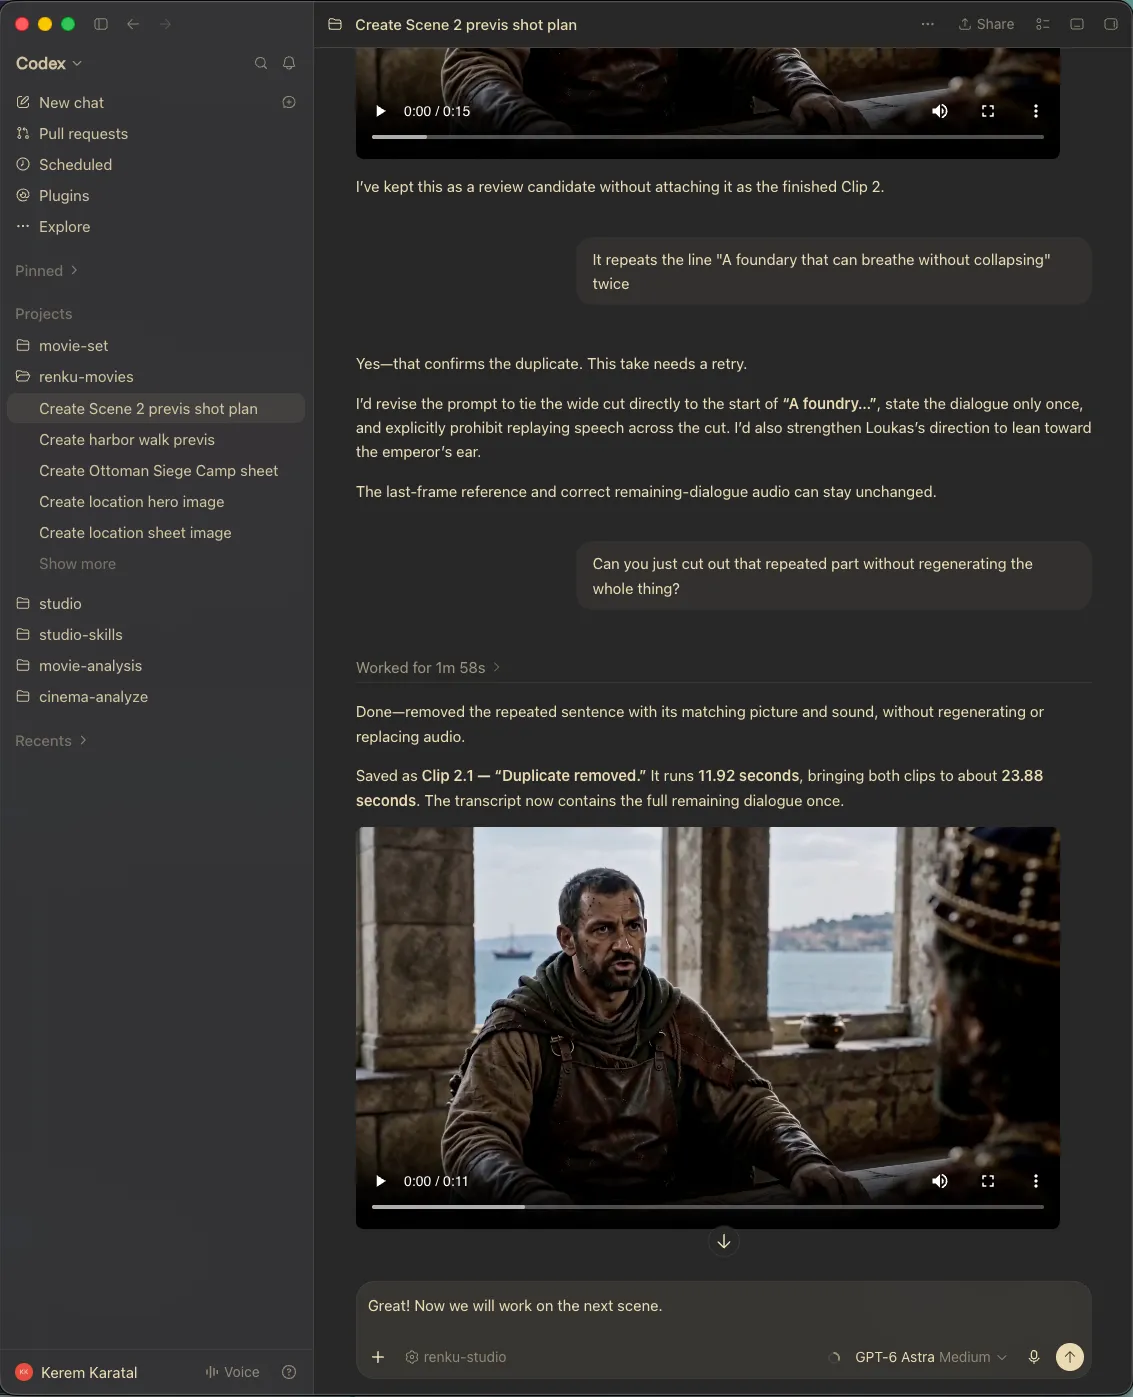
Tell Codex what you want to make. Renku’s skills give your agent filmmaking workflows for lookbooks, casting, scene planning, and media generation. Review the results in Studio, then give your next direction in Codex.
Start with the right context.
Your agent can read the current Studio selection. With a scene open, you can say, “Create a shot plan for the current scene.” You can also name a different target: “Work on Scene 3,” or “Create a character sheet for Urban.” Point to what you mean, then describe what you want.
Ask for the next creative step.
You can start with a simple request and refine it through conversation. For example:
- “Use the pictures I added to this Inspiration folder to develop a Production Lookbook.”
- “Create the cast from my imported screenplay.”
- “Generate a character sheet for this Cast Member.”
- “Create a voice sample for this character—quiet, warm, and slightly weary.”
Review, respond, and make it yours.
Open a generated character or location image in Studio and tell Codex what to change: “Keep the character’s face and costume, but soften the light,” or “Keep this room’s layout and make it feel abandoned.” Keep directing until the result fits your film.
You also have the other tools, skills, and plugins you use in Codex. Combine them with Renku’s workflows to research references, develop ideas, or refine an image.
Renku works with the agent environment you choose. This guide uses Codex; you can also work with Claude Code, Pi, or another agent environment with access to Renku’s CLI and skills. Bring the tools that suit your process.